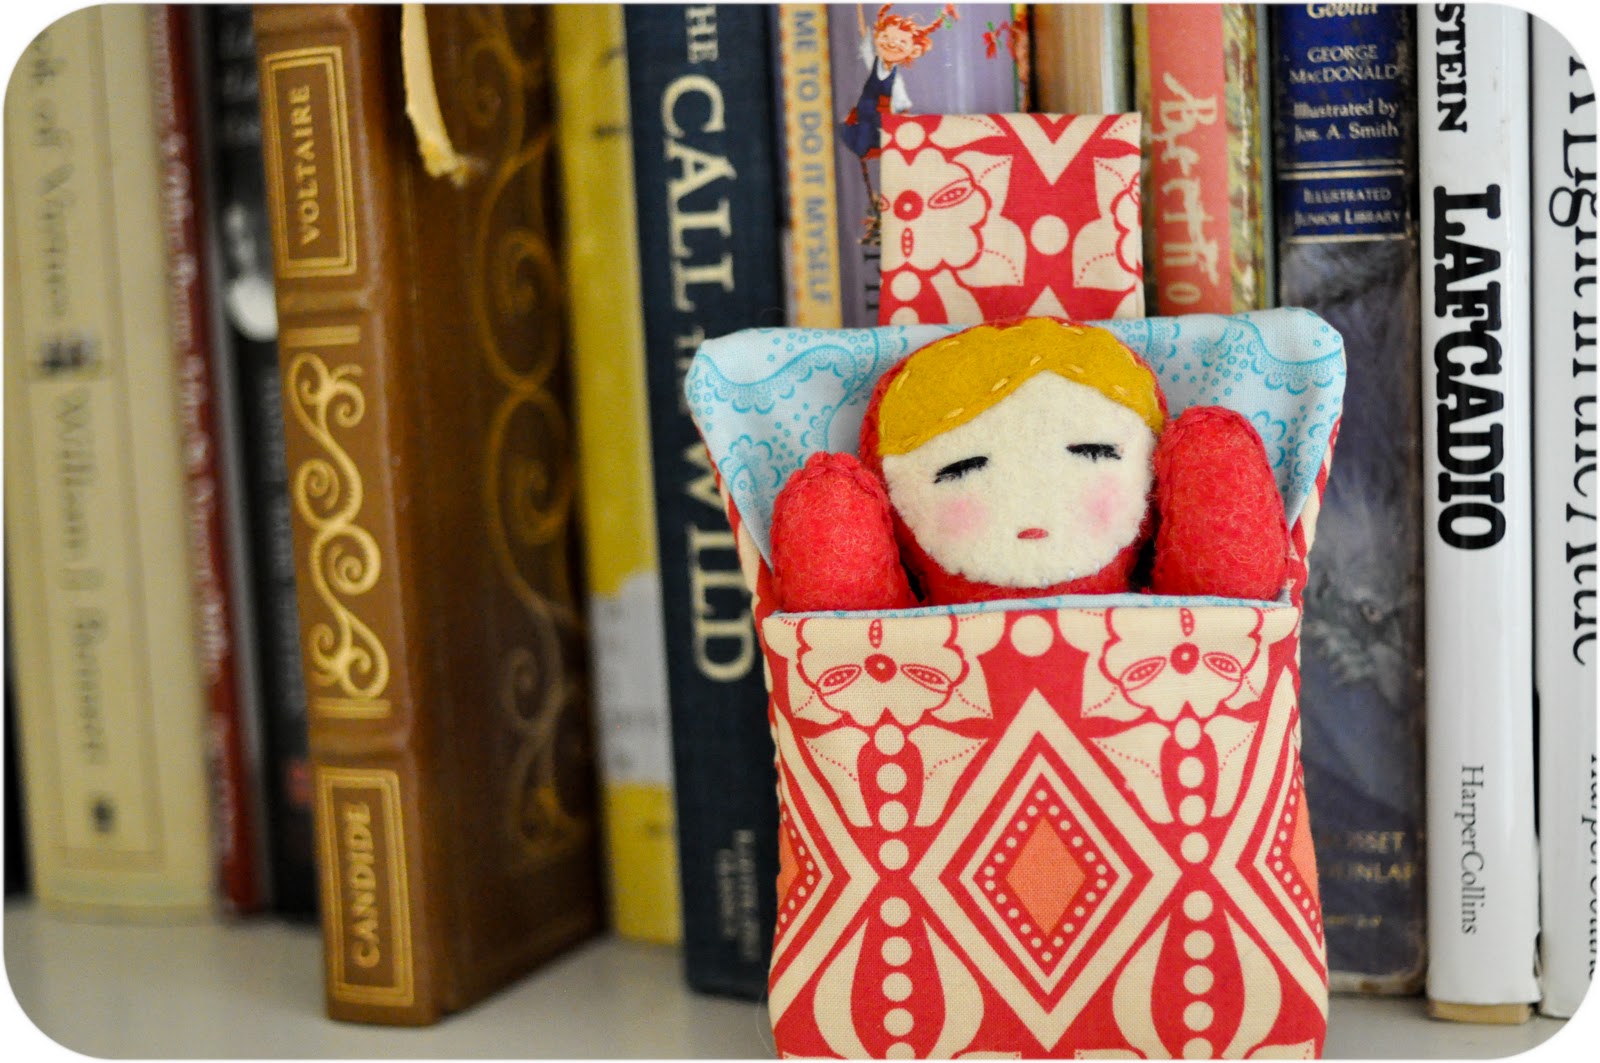
Here is the promised tutorial for the necklace pouch thing or dolly sleeping bag. I really have no idea what to call it. It would be simple to change the dimensions of the pouch to accomodate all sorts of small toys, pencils, small pads of paper, or just a little dolly of course. I hope my instructions are clear, I have not created a tutorial like this before.
This is a very quick and simple project, and once you have all your pieces cut out, it really only takes about 15 minutes to assemble the pouch.
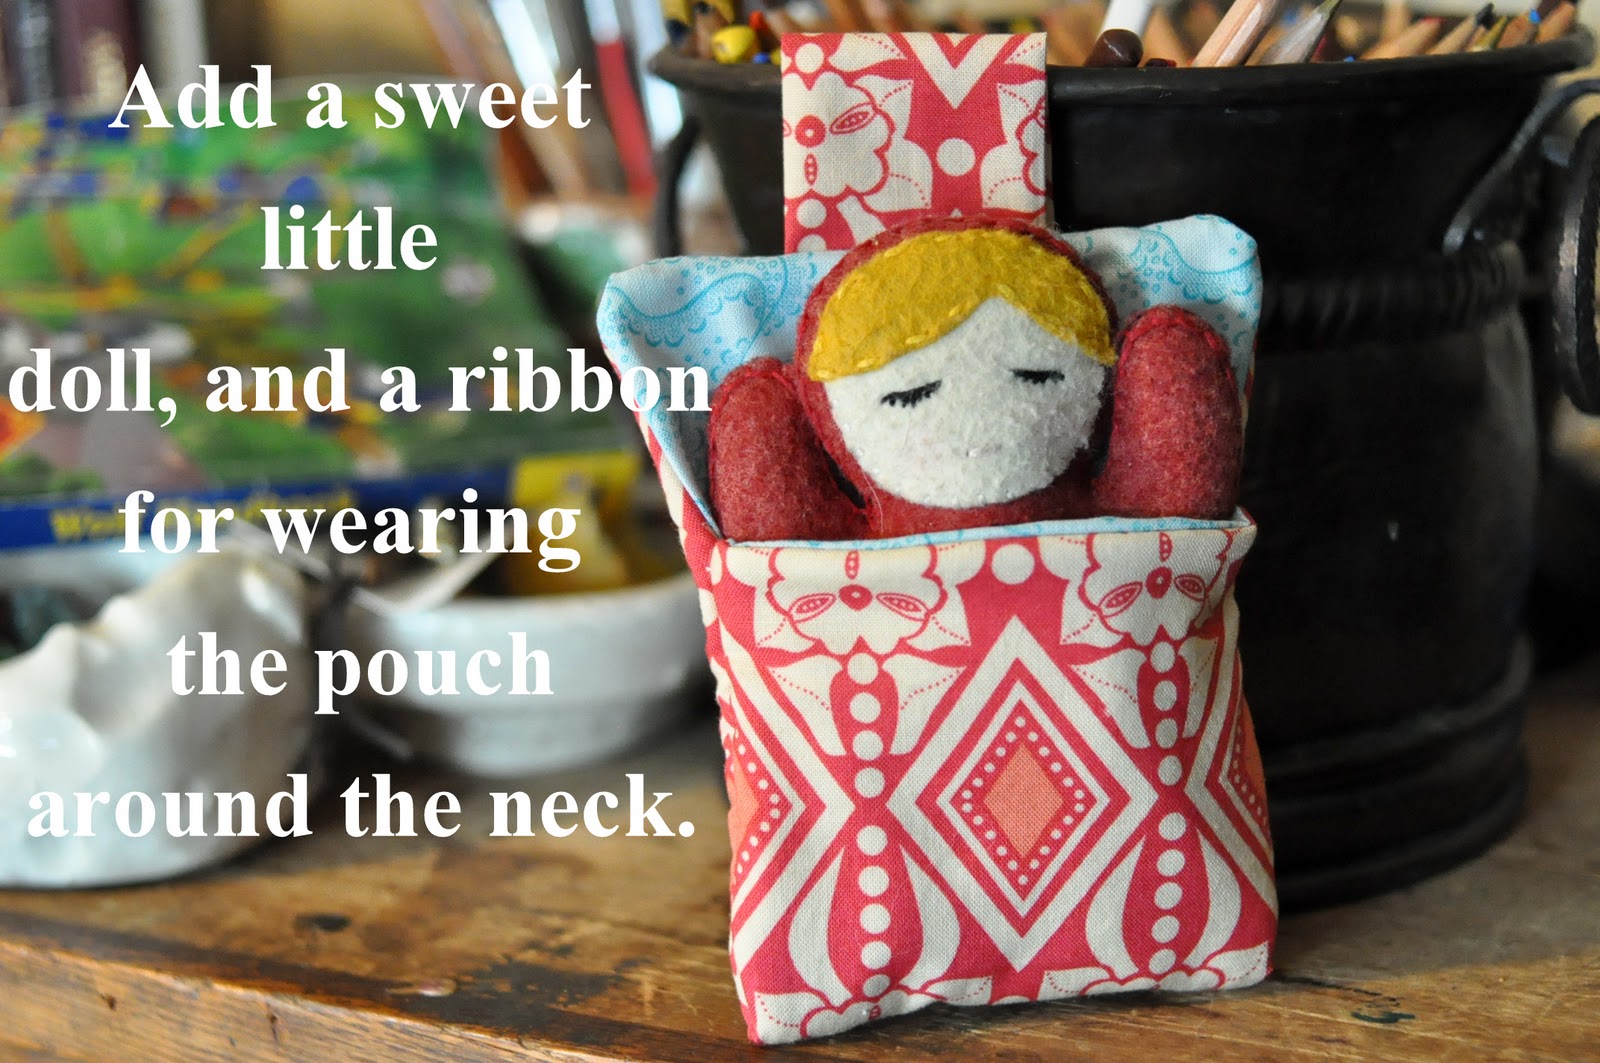
And just so both are in one place, here is a link to Julia’s baby bunting tutorial. I shrunk the pattern a bit to create a doll that is about 5 inches tall.
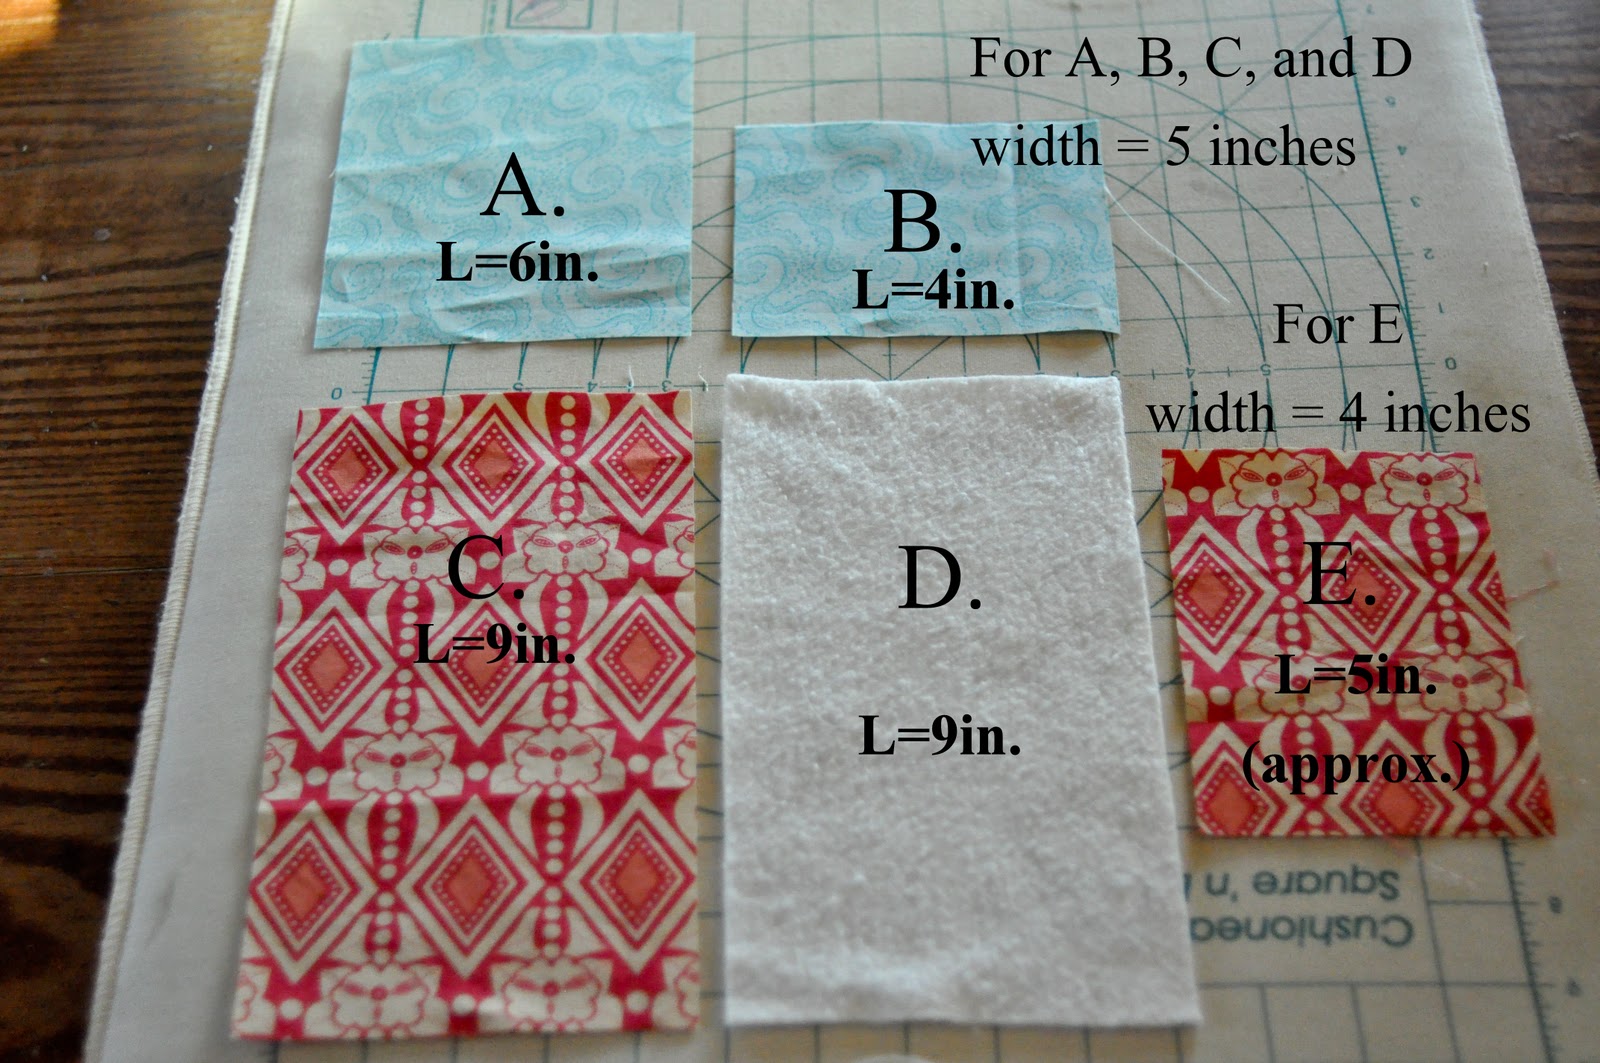
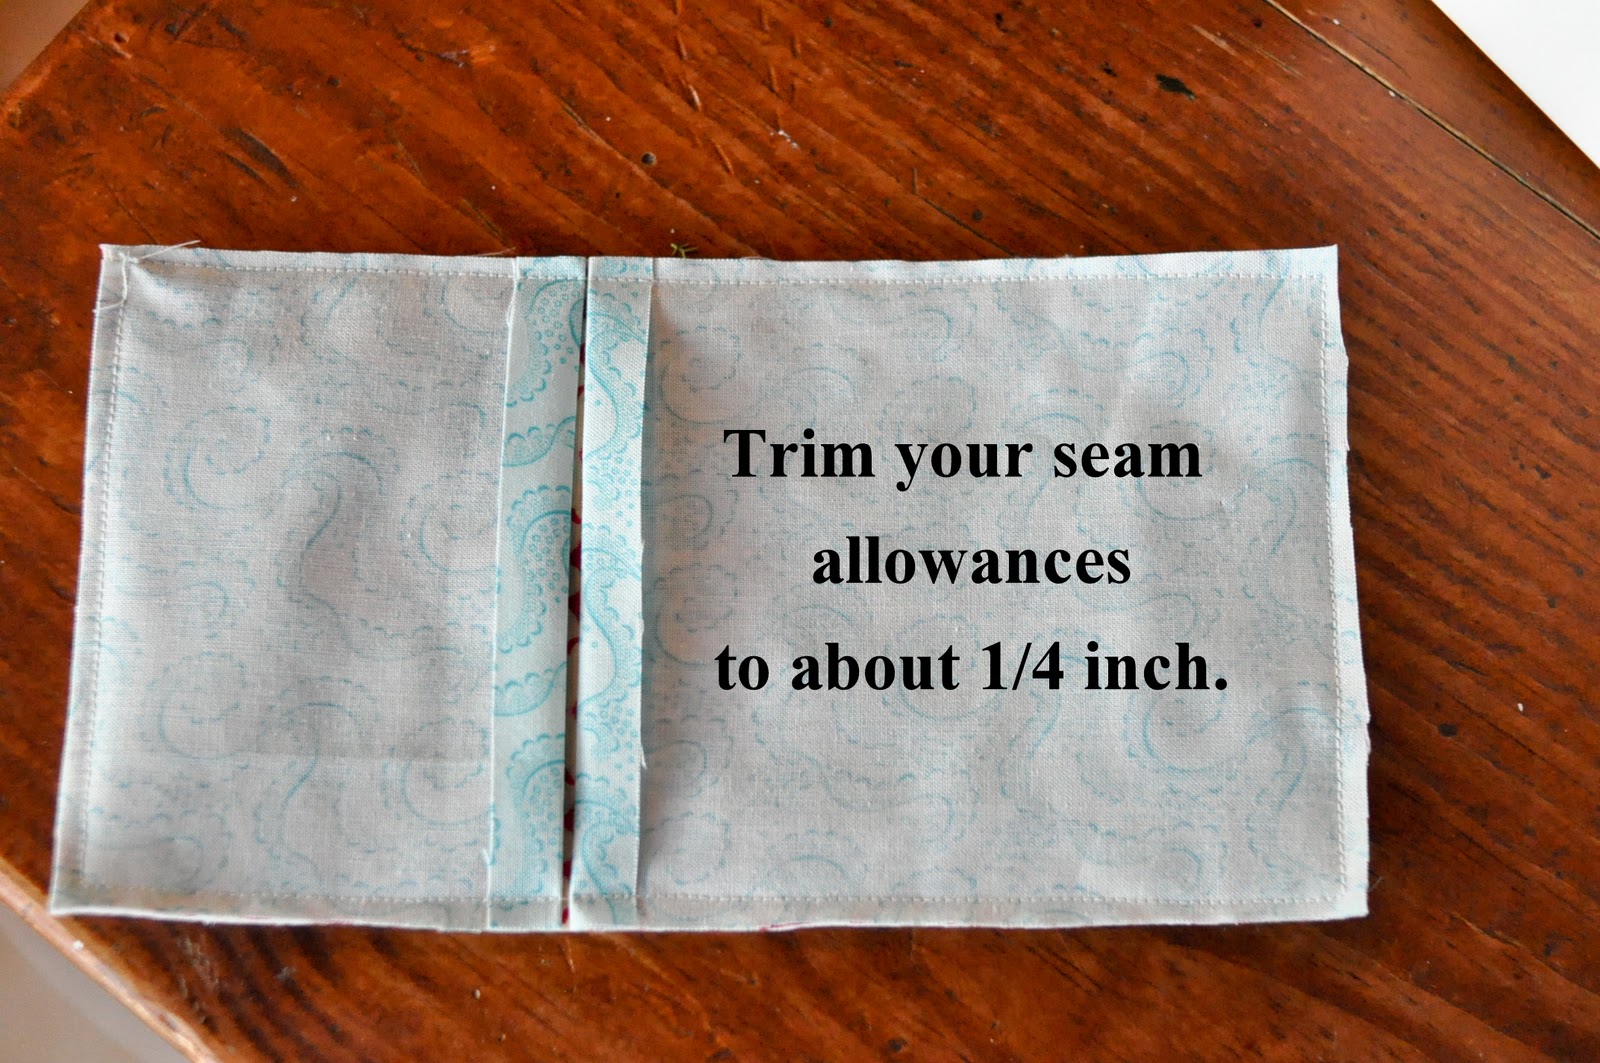
Choose your fabrics and cut the pieces out as directed above. You will need one small piece of cotton batting for piece D.
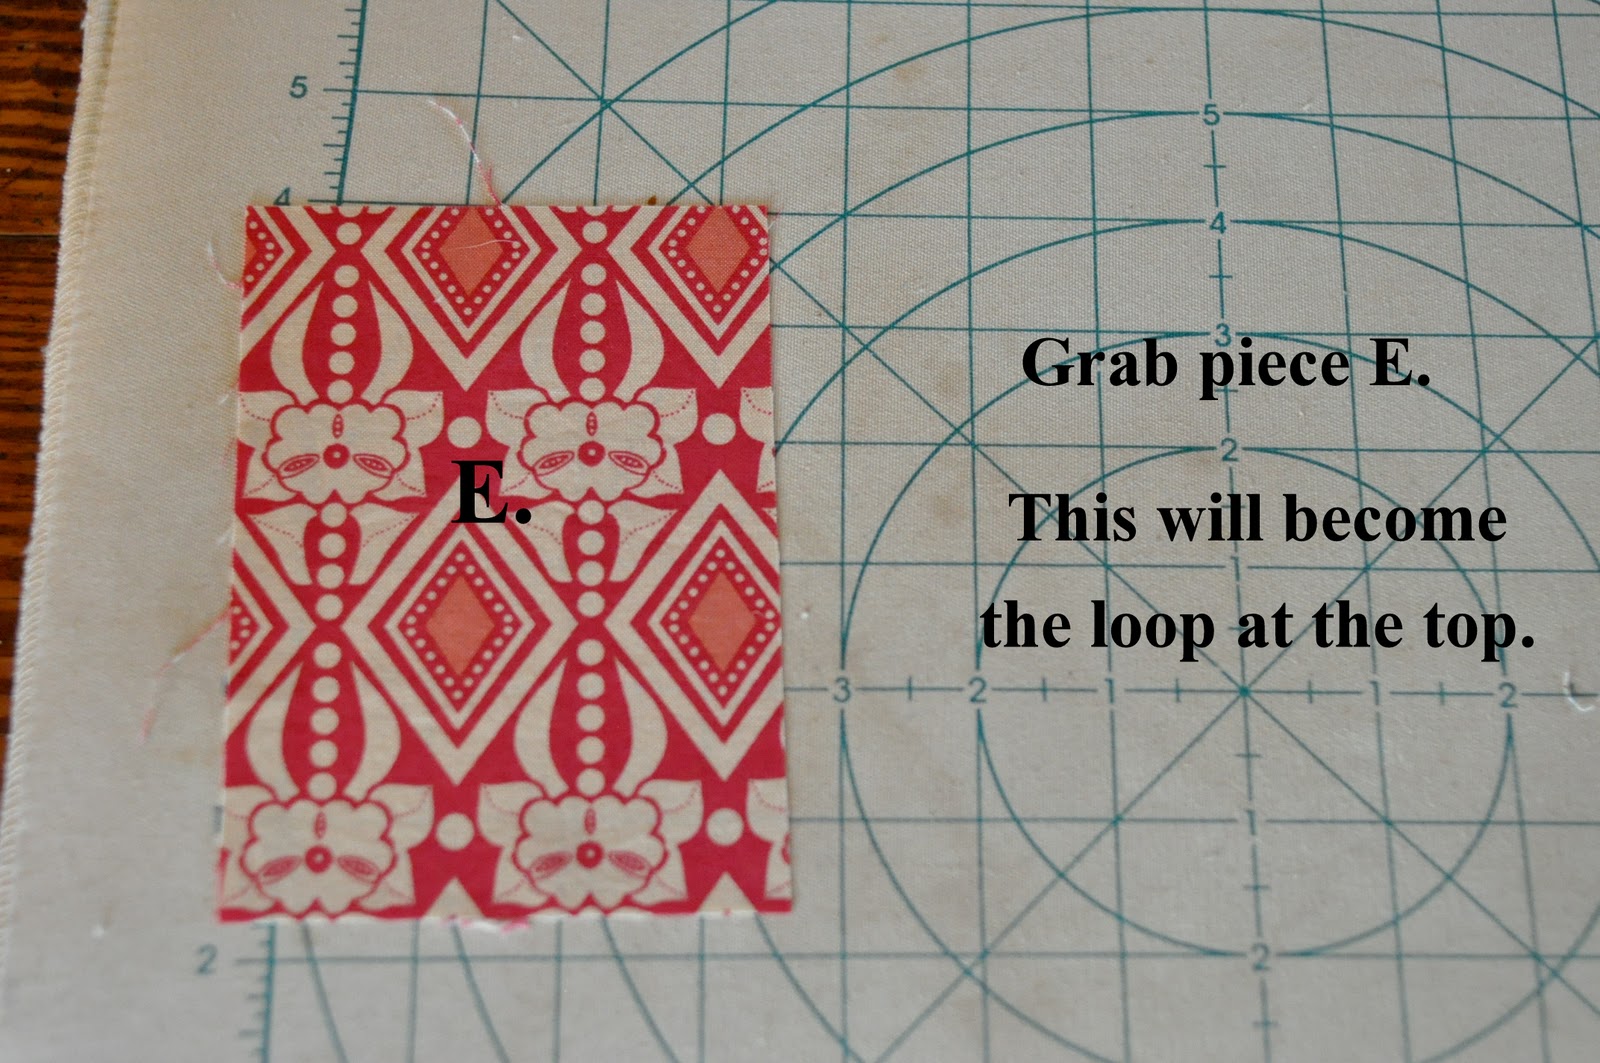
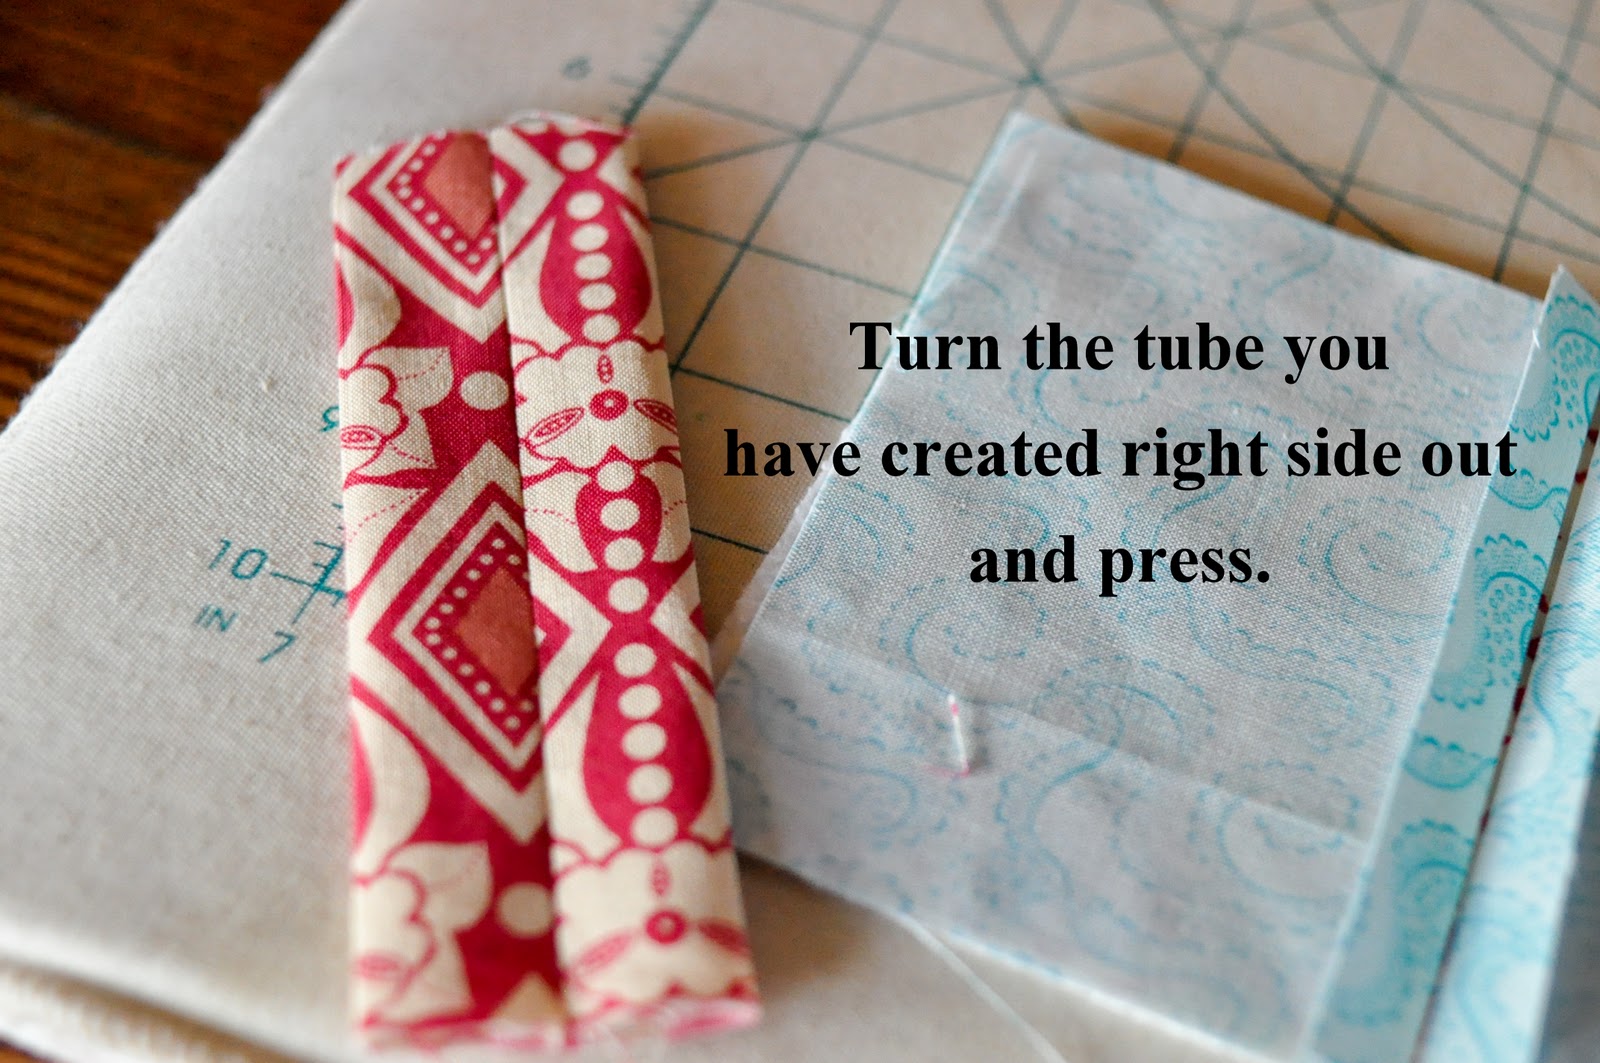
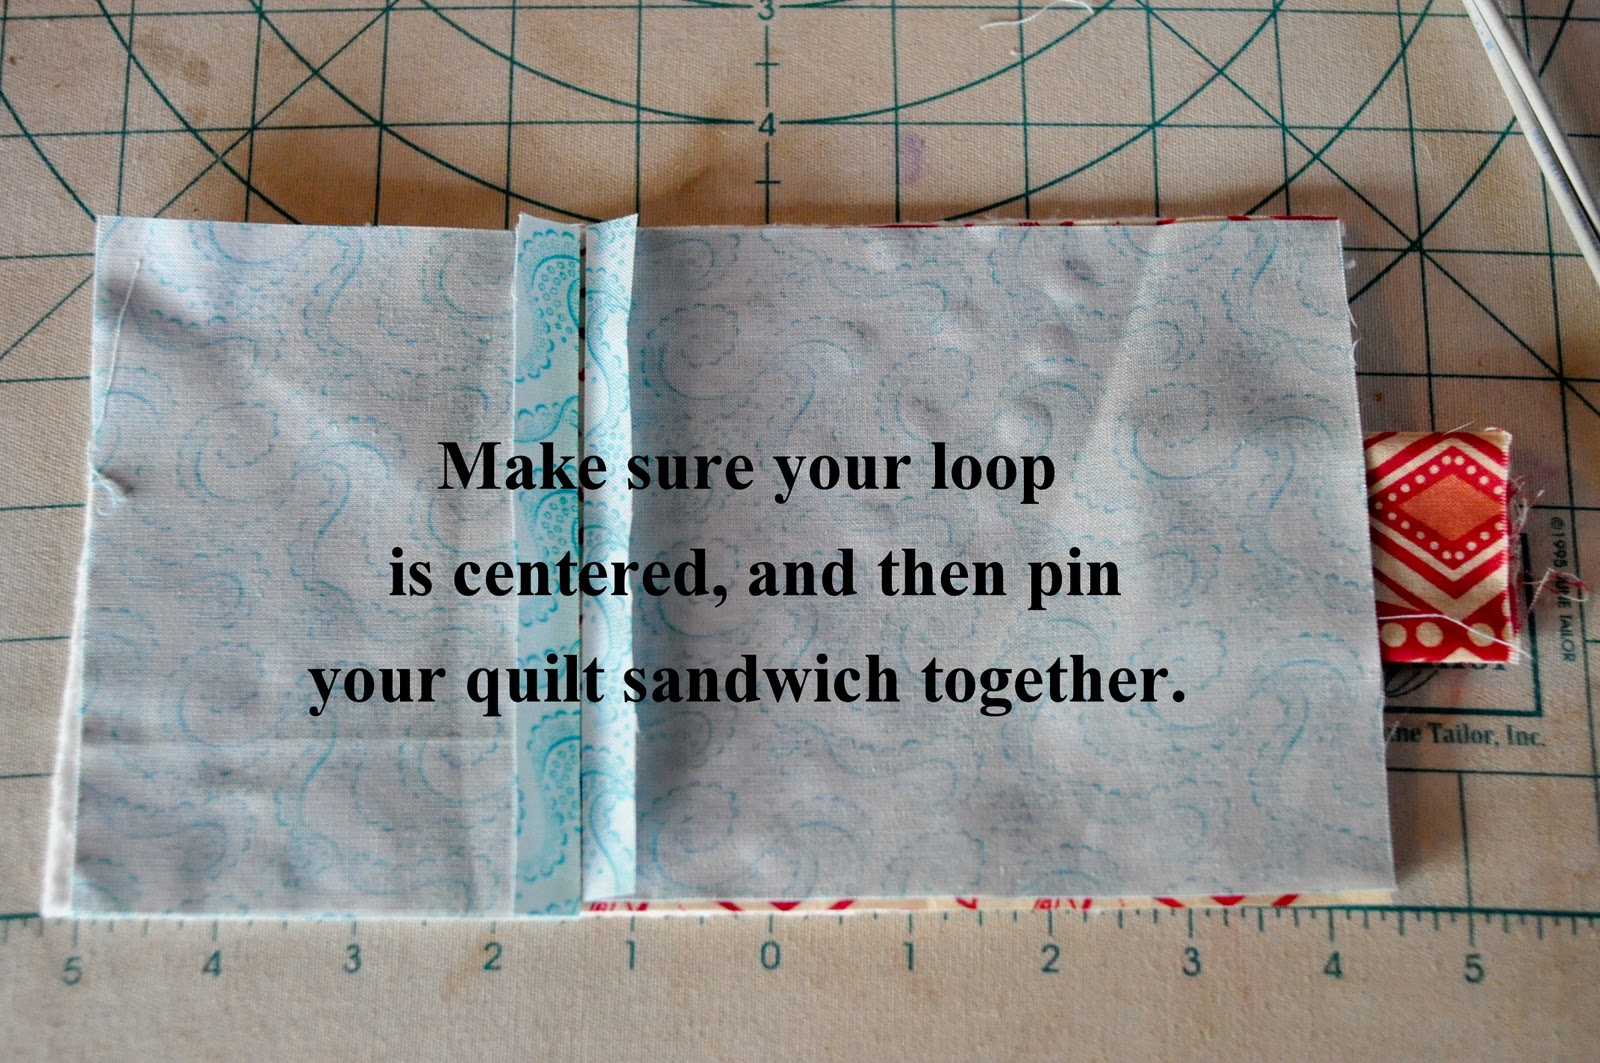
Pieces A and B form the inside of the pouch, and the area where the dolly’s head rests. Pieces C and E form the outside of the pouch, and the loop to thread the ribbon through for wearing around the neck.


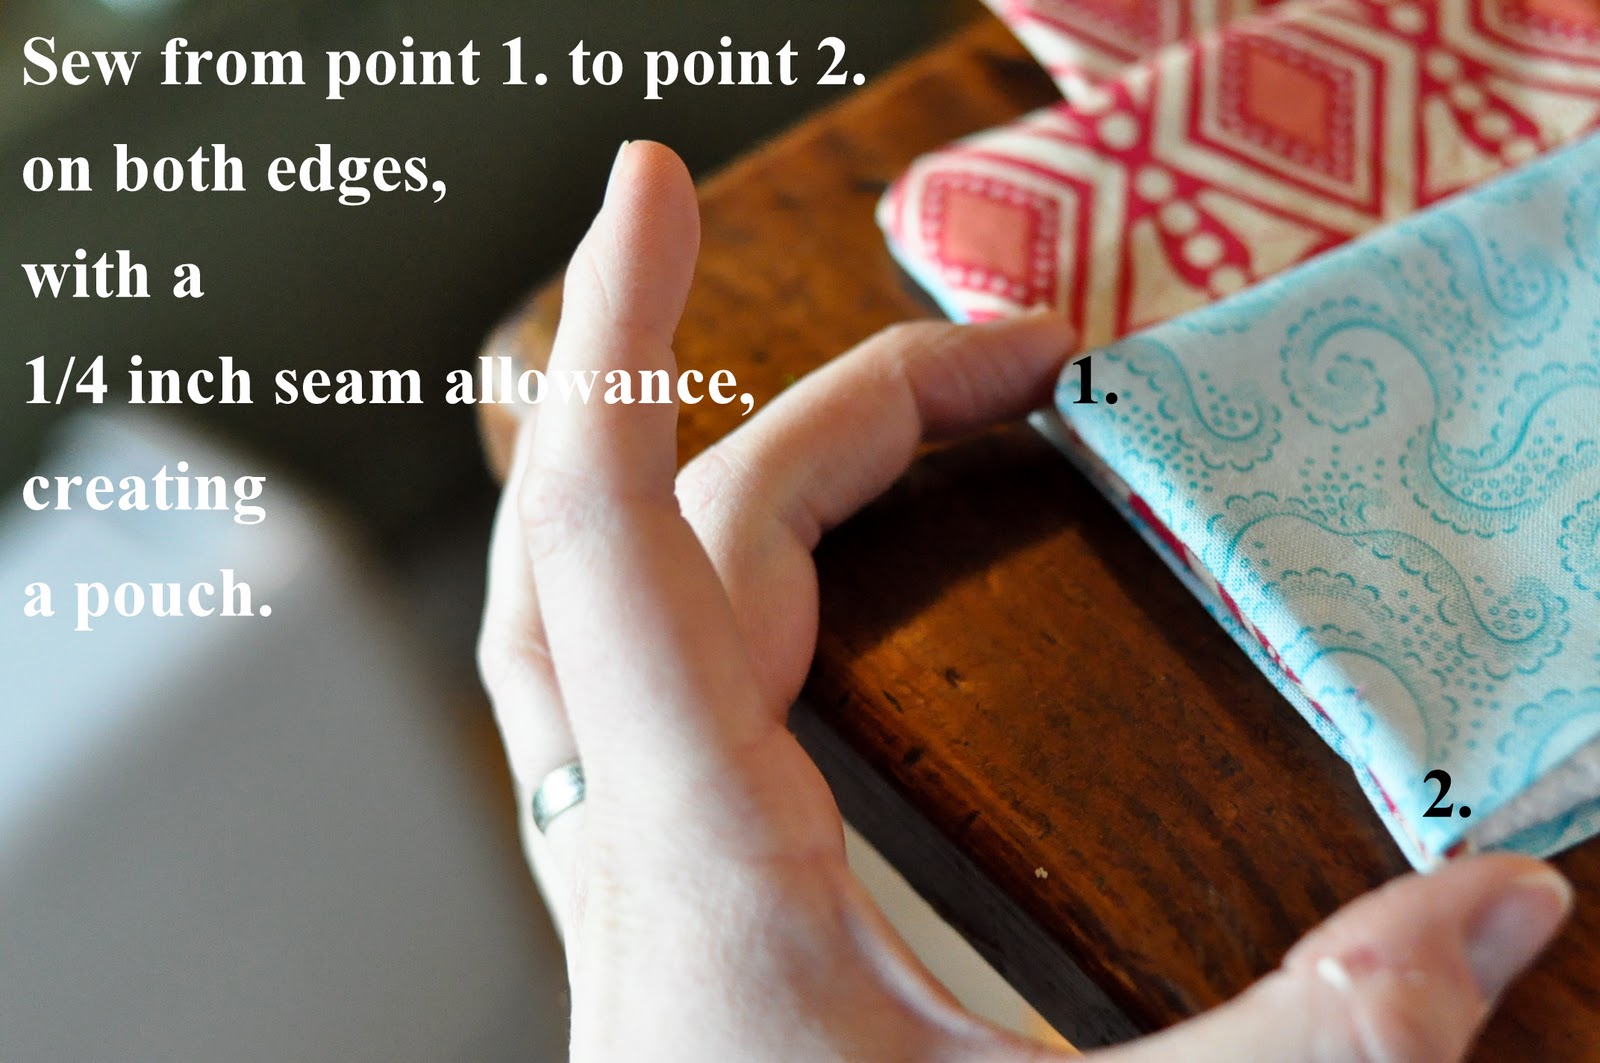
This part may be a bit difficult for your machine as the layers you are sewing through are rather thick, but I didn’t find that I needed to switch to a walking foot-just used my regular presser foot. Also, be sure to backstitch a bit at the beginning and end of each row of stitches.

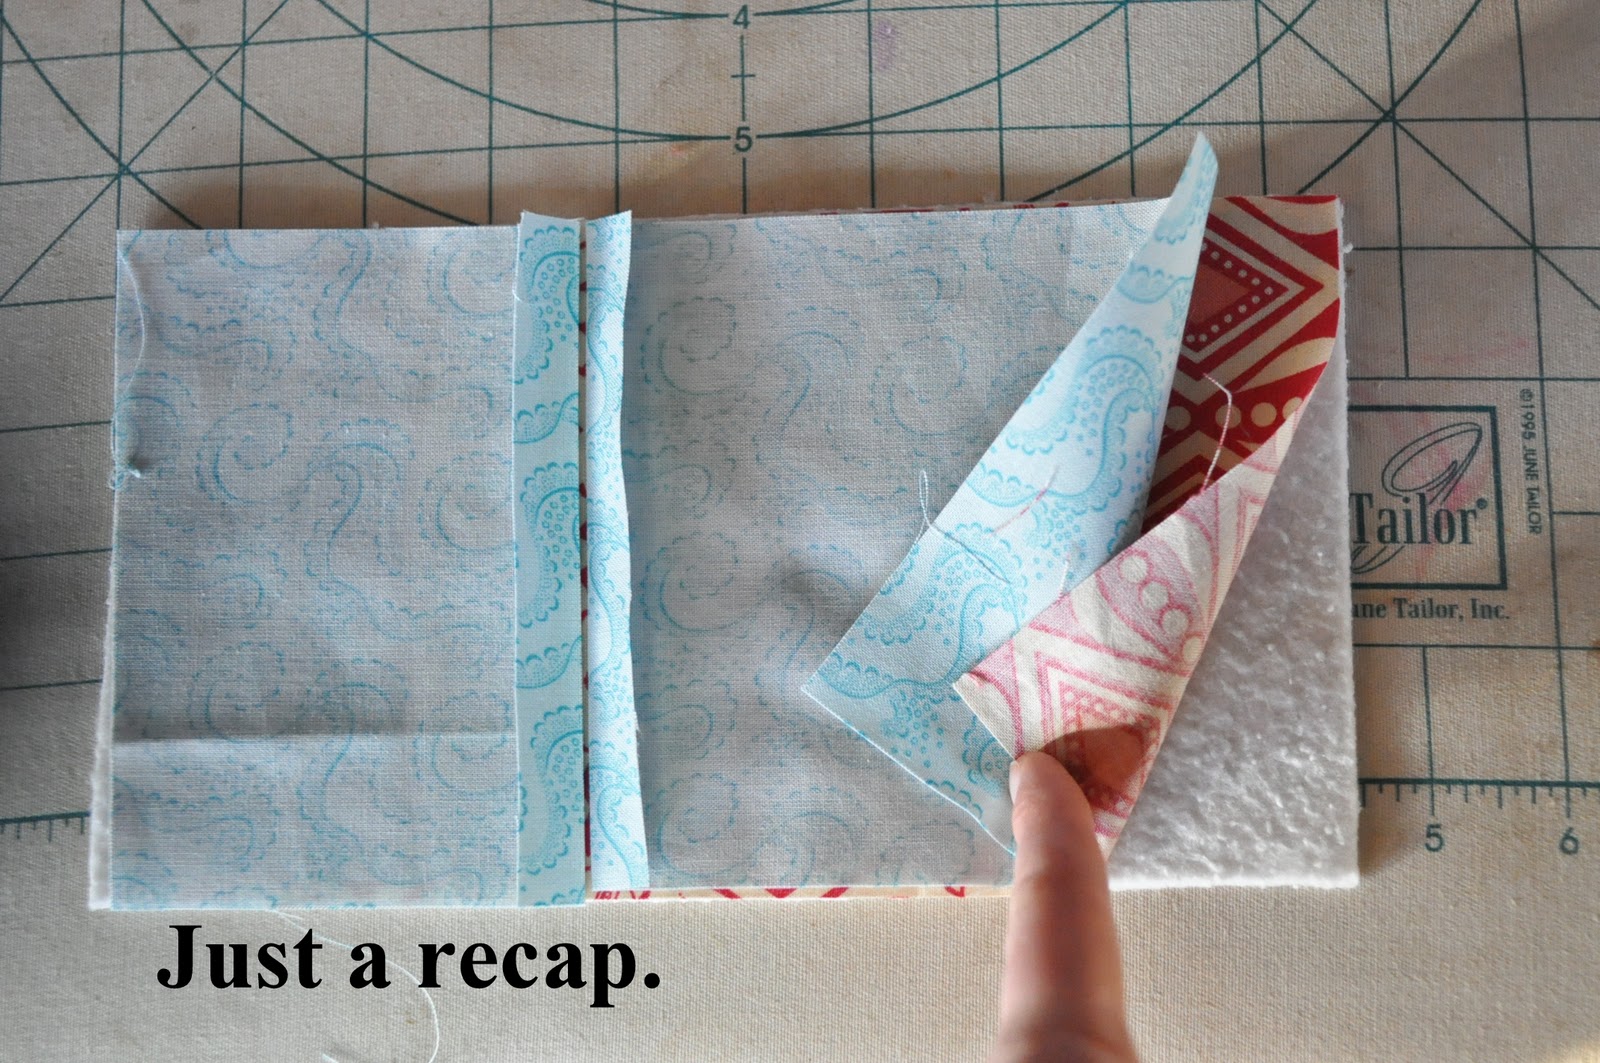
The opening created where pieces A and B meet, will be on the inside now, and won’t interfere with the pouch or even be noticeable, so no need to close it up.

Okay, I hope this all makes sense! Happy sewing 🙂
This is so cute. You are such a loving mother to take the time to teach your children that they can take raw materials and make something wonderful. Thank you for the time you took to make this tutorial. My husband wants me to make something like this to put my phone in and wear it around my neck, so I will stop losing it. Too late! I left it in my jeans pocket and ran it through the wash. I don’t think it will recover. Oh, well. 🙂