
Last week I brought my sewing machine out of retirement for hopefully the first of many new projects (winter dresses! St. Lucy Day gowns!) And because the first project completed was for a doll cradle makeover, I wish I had taken a before picture! Oh well. I always forget something.
Jonny made Larkspur a pine doll cradle for Christmas (last year? the year before?) but we never finished it with anything, and I never made any bedding to go with it, although I intended to. Larkspur took it upon herself to decorate it with window crayons (which I have since banned from the house for many many reasons-one of which is that much of my window trim now needs repainting-the crayons wash off windows, but not the surrounding window surfaces-just a warning!)
So anyway, the cradle needed a good sanding, and a good finish, and the dollies needed some nice soft bedding.
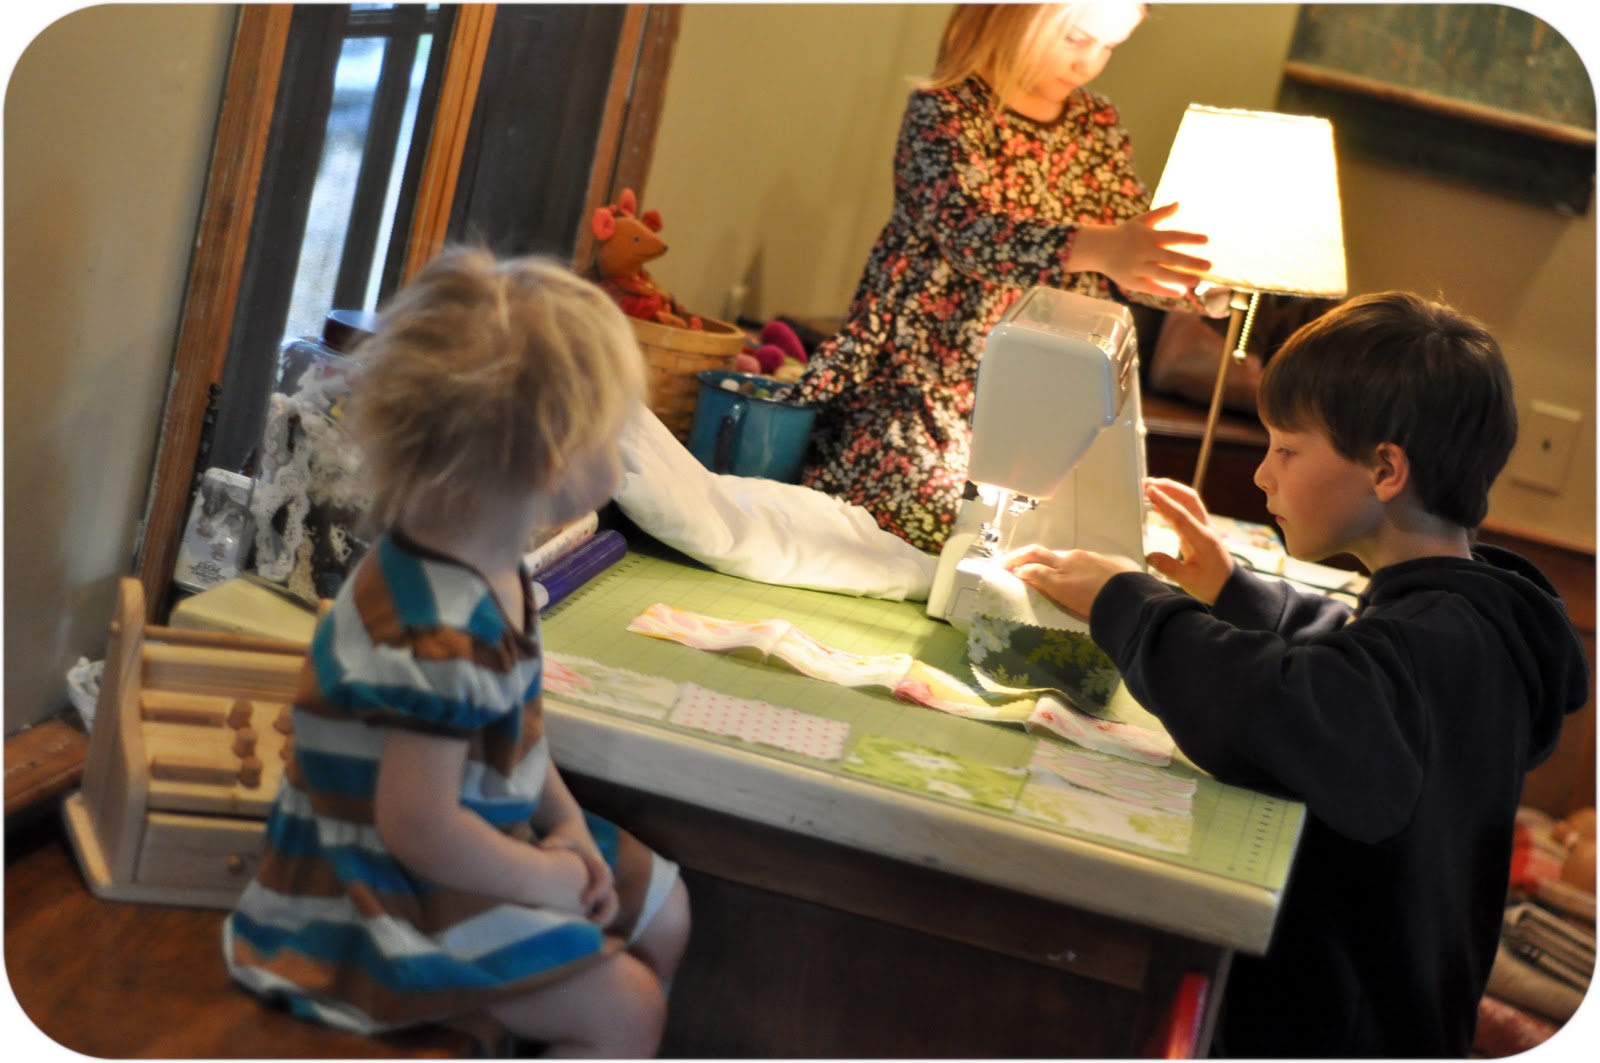
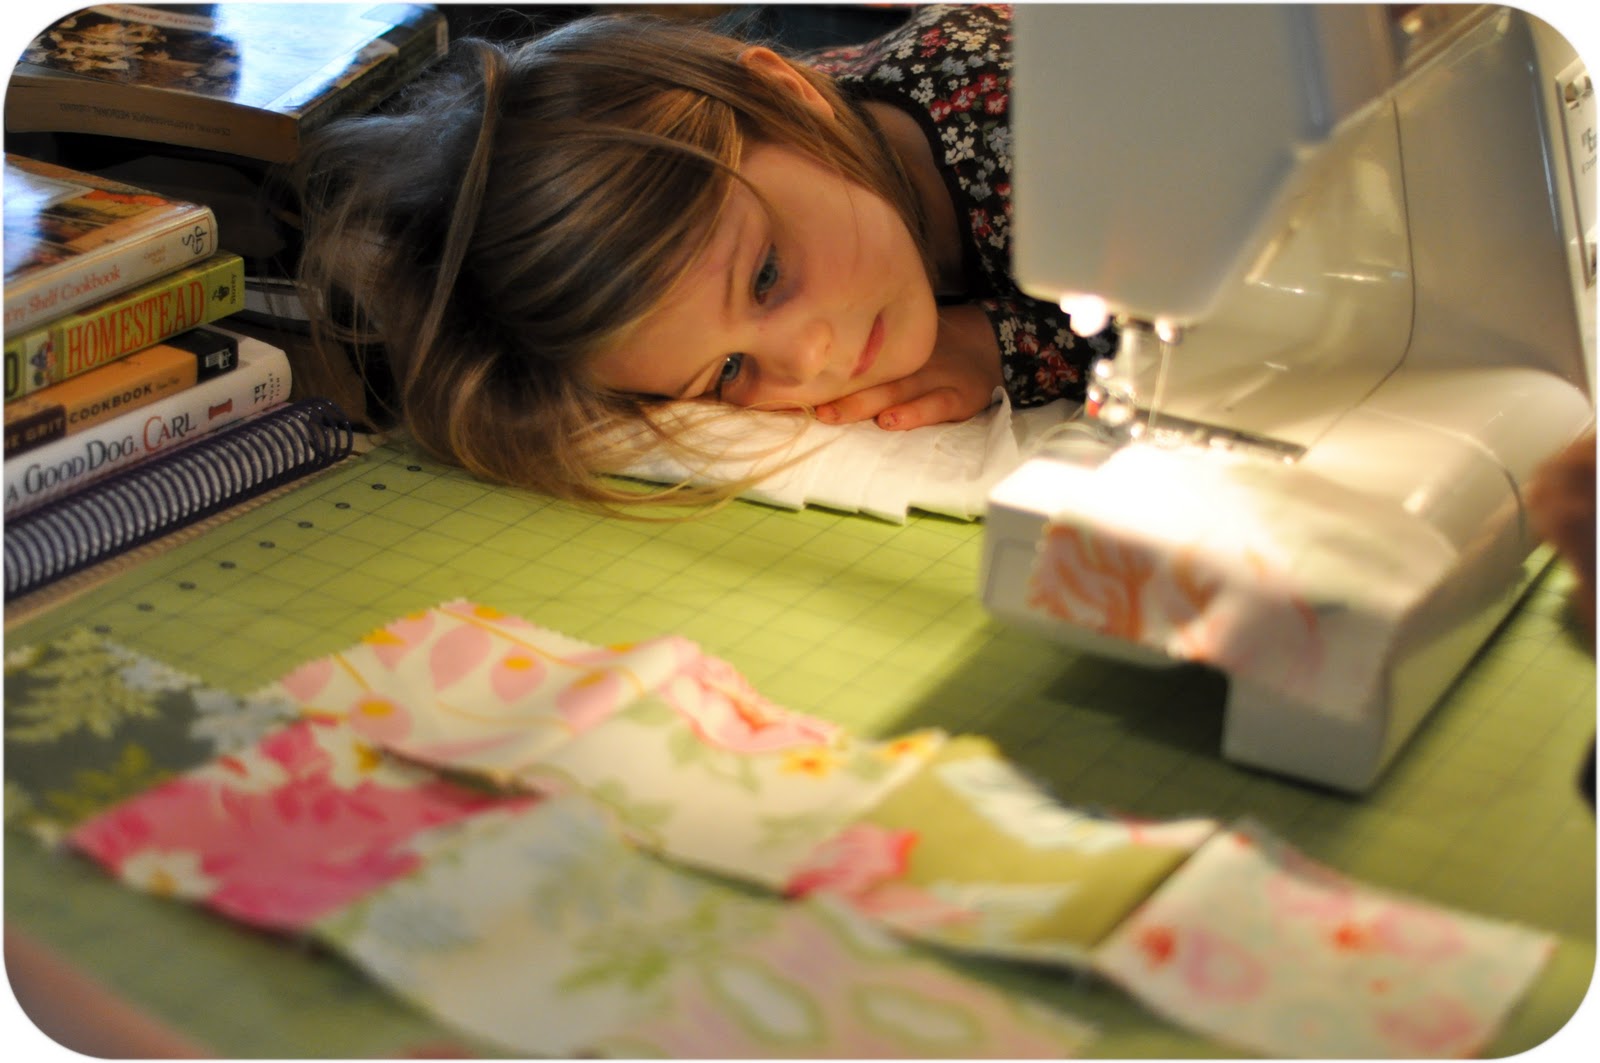
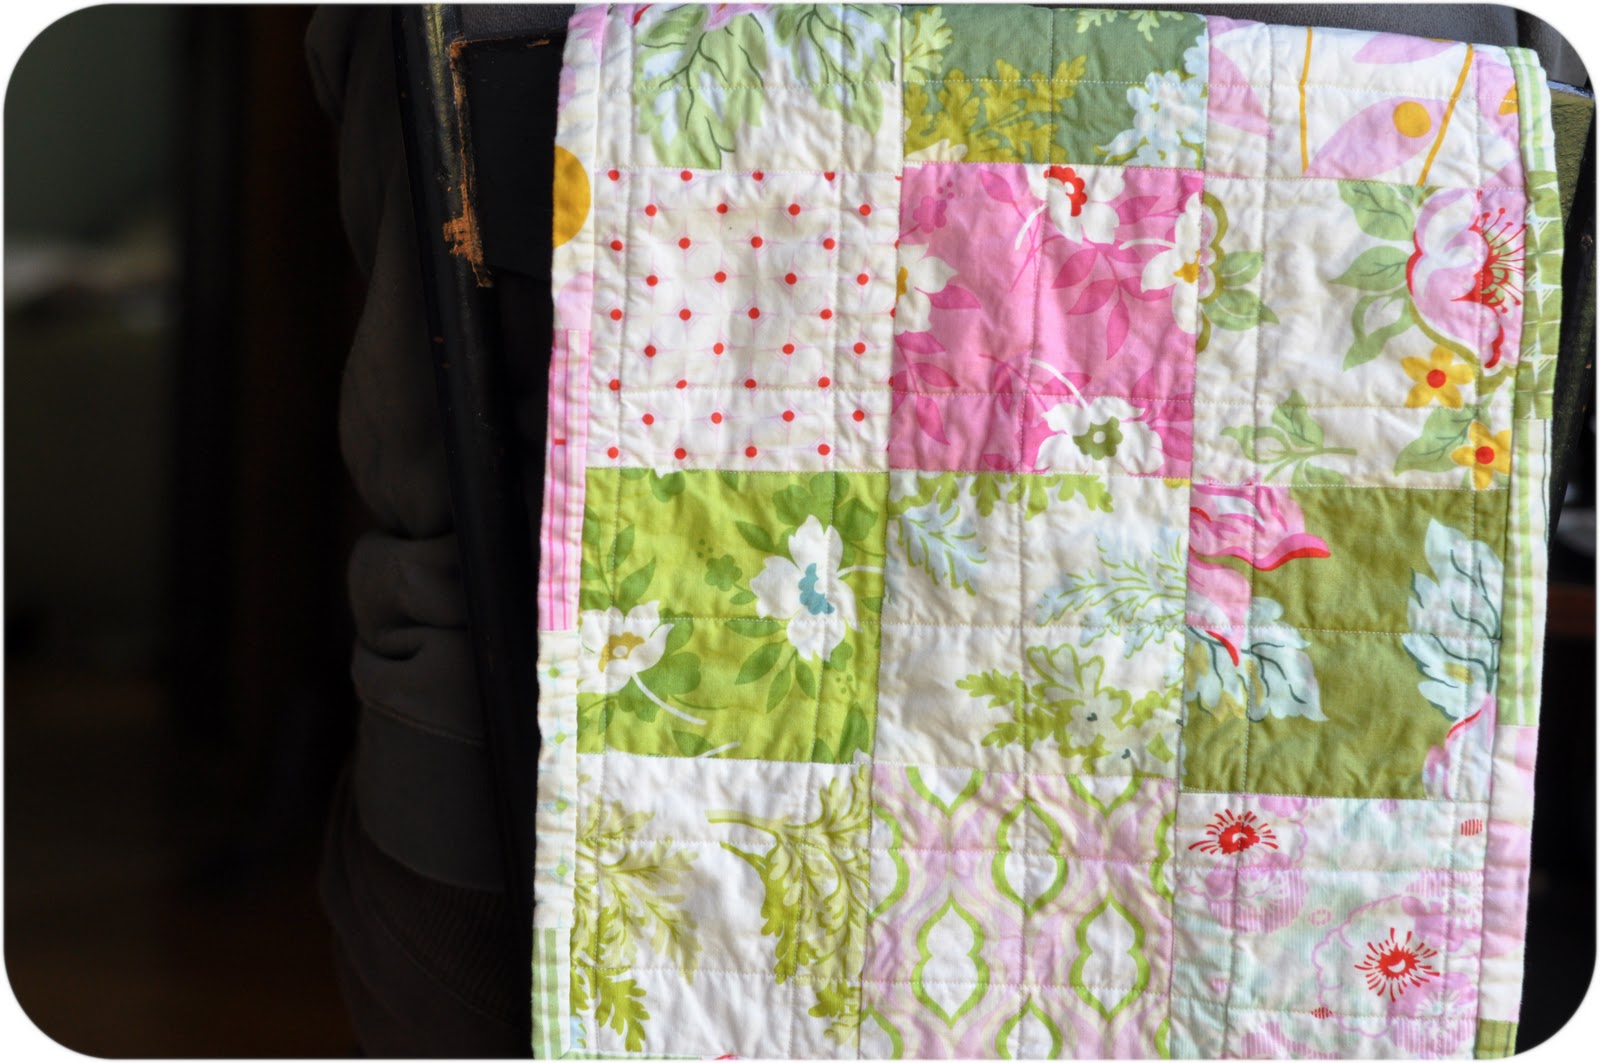
While Jonny worked on the cradle, Keats and I got to work on a doll quilt. Keats and I followed the same system we used for Beatrix’s birthday quilt. He made the quilt top, and then I did the rest. We used precut Heather Bailey quilt squares (which I don’t see available anymore, but here’s a link to the fabric line.)

Larkspur supervised,
very closely.
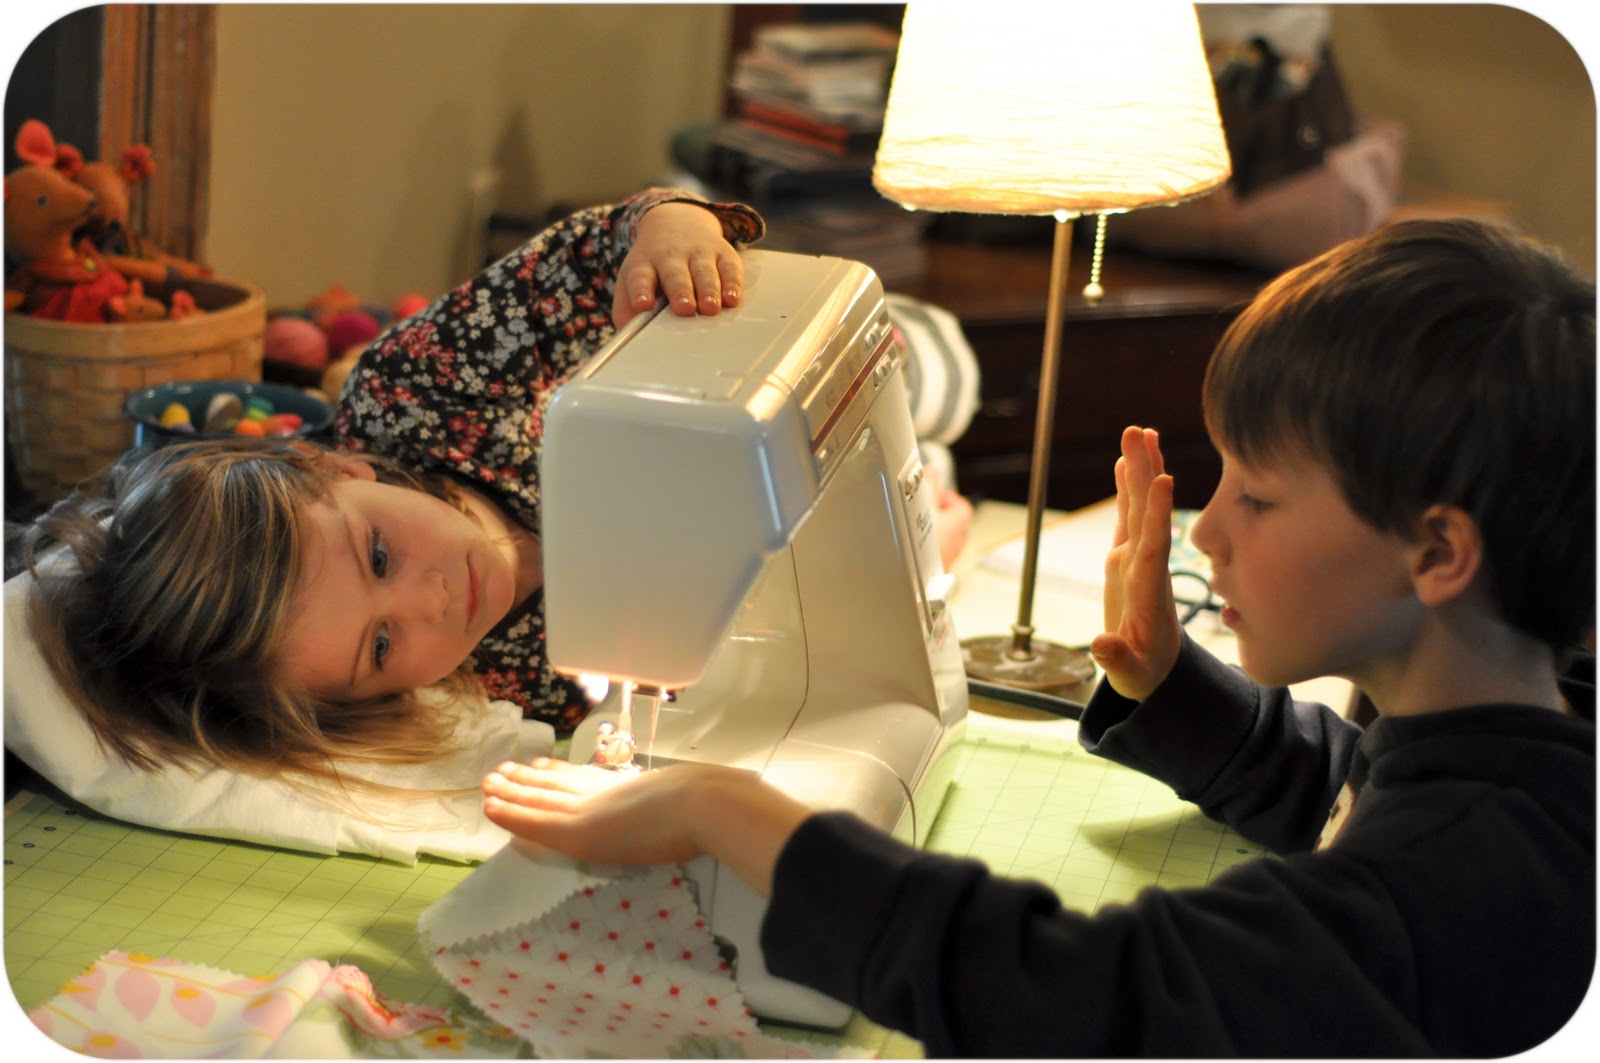
There’s something awfully sweet about a big brother sewing for his baby sisters.

Meanwhile, Jonny rubbed a couple of coats of this wonderful non toxic hard wax oil on the cradle. He recently used this oil to finish the floors in my almost finished, homeschooling room/studio space, adjacent to his home office. This oil makes a great finish for children’s toys, and we much prefer the finish and resulting color over other oils we have used in the past.
Once Keats finished the quilt top, I assembled the quilt, questioning how anyone gets through hand sewing the binding on a full sized quilt! I am terrible at hand sewing.
(note to self: buy a thimble and learn how to use it!)
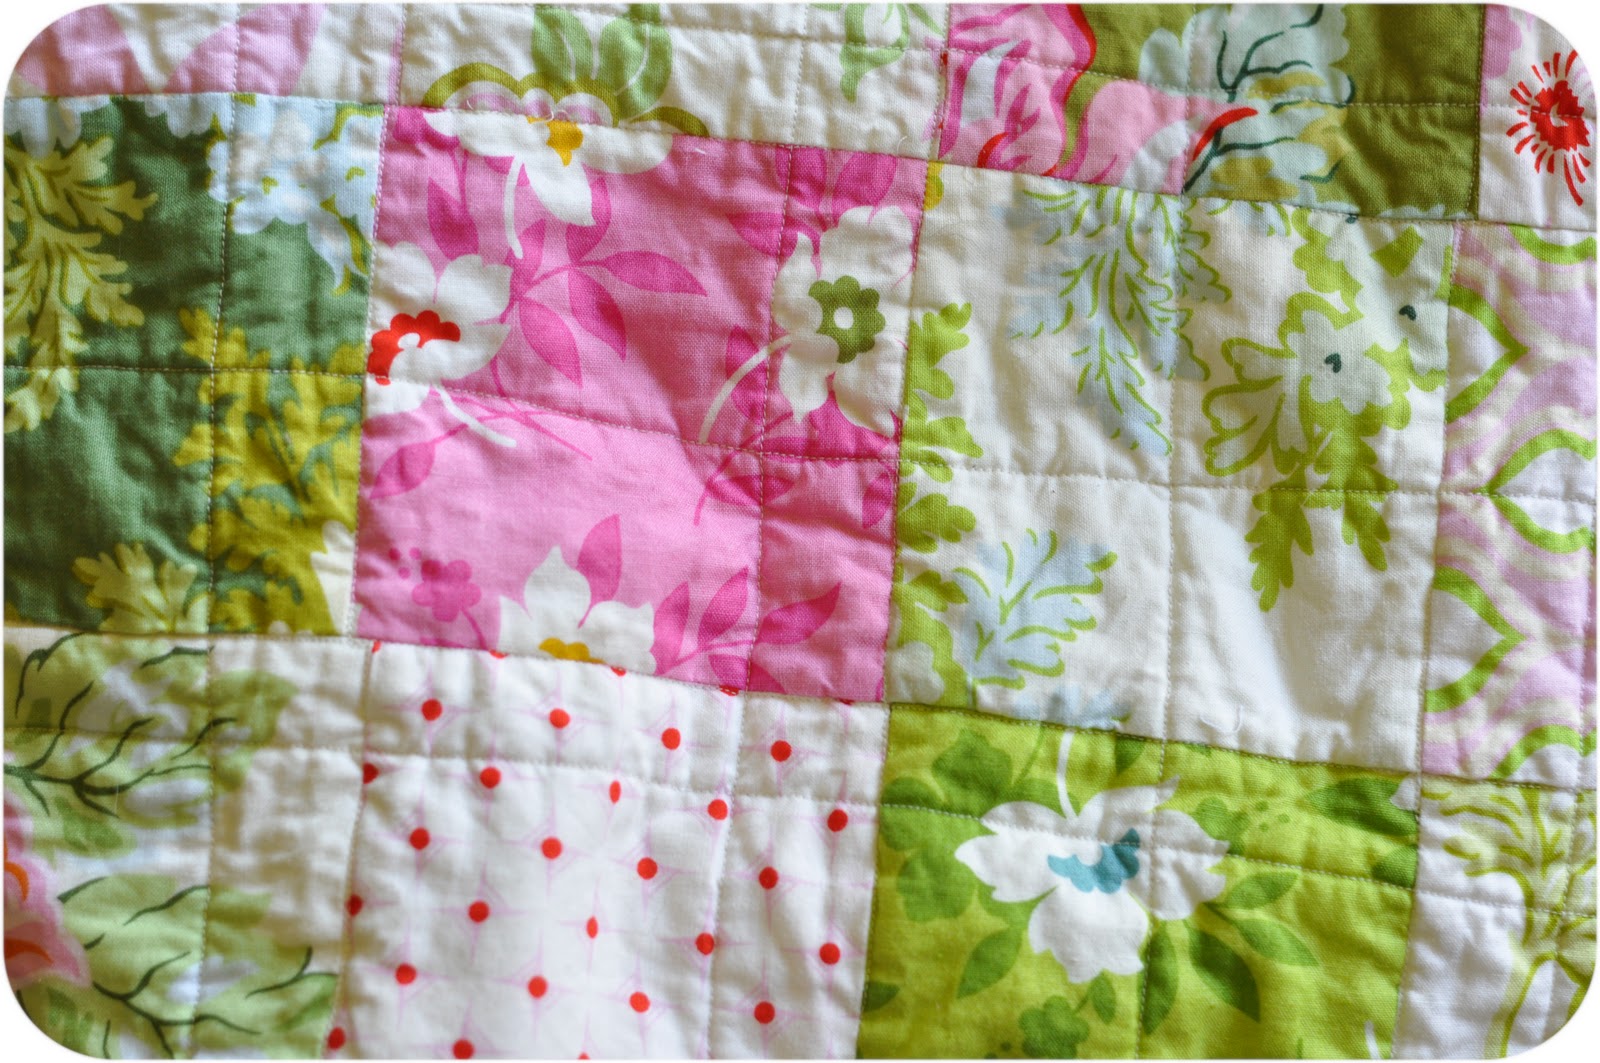
The original quilt top was heavier on the blues and greens but Larkie vetoed that, and redesigned things adding lots more pink!

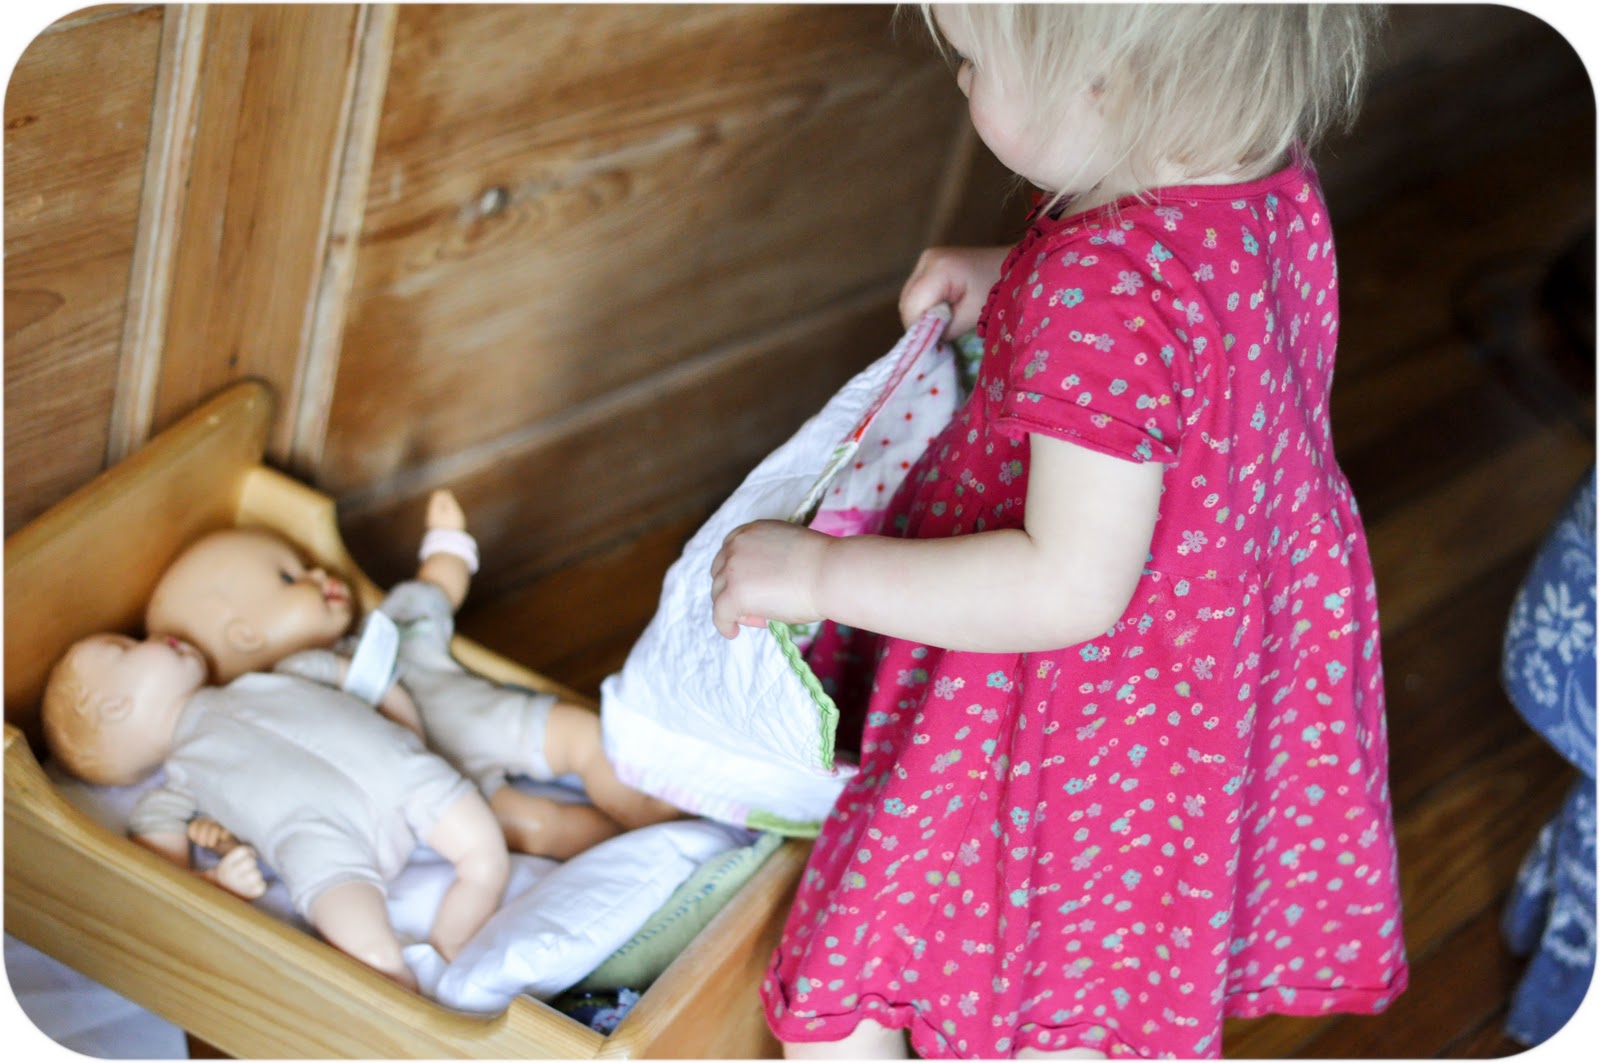
I finished everything up while the girls were sleeping, and then made up the cradle before going to bed. The next morning, I found that the girls had discovered the cradle and gotten their dollies and their owlies all tucked in.

cute cute cute!
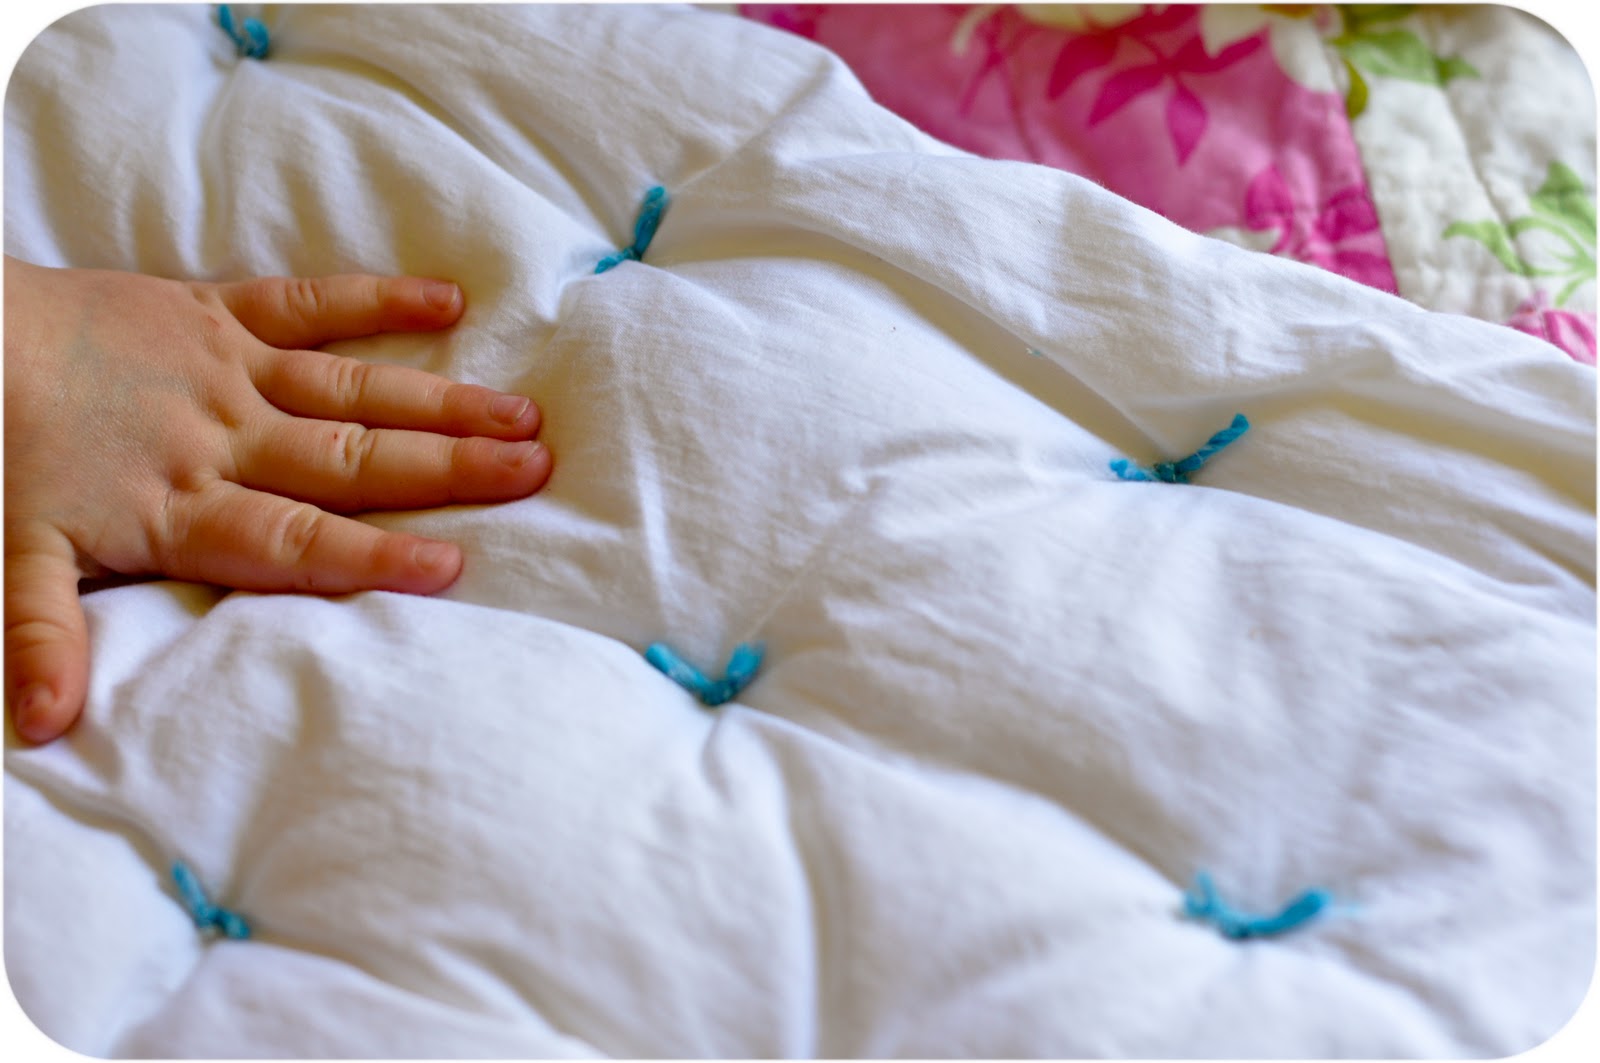
But back to the bedding: I also made a mattress and cover. For the mattress I used kona muslin to sew a simple rectangle. I added two inches each to the length and width of the inside dimensions of the cradle to determine how big to make the mattress. Those additional two inches covered the quarter inch or so seam allowance and the fact that when you stuff a rectangle, you lose length and width.

Then I simply sewed three sides, turned it right side out, stuffed with wool, and then tucked the raw edges under and sewed across the fourth end.

To keep the stuffing even inside the mattress, I used a blunt tapestry needle to sew little ties of yarn through it, making little knots on one side. I am sure there is a term for this, but of course I don’t know it!

This was so incredibly simple to make!

And even simpler, was a little slipcover for the mattress (because it isn’t washable, being stuffed with wool.)

I cut two rectangles, the same size I cut for the mattress, and then cut one extra, with same width, but shorter length so that I could create an opening on one side for the mattress to slip in and out of. I could go into more detail if someone wants me to. I just sort of made this up, thinking this must be how people sew pillow covers, and it took all of five minutes or so to make.

The girls were pretty excited about their doll cradle makeover.
And I do hope they don’t decide to color on their beautifully finished cradle!

Larkspur certainly has her own ideas about decorating, and Beatrix thinks crayons are best used on any surface but paper!
Now, if I can just get Jonny to design a great doll stroller in time for Christmas…
What a charming post!! Love the design of the cradle, and the darling bed clothes you and your son made. The girls make it as happy as peaches and cream. Thank you for your wonderful blog and sharing your life! Hugs, Ann